We are well into the analog resurgence. Record players have been back in vogue for years, artists are releasing new albums on cassettes, and point-and-shoot film cameras are fetching all-time high prices thanks to Kendall Jenner. And honestly, I feel late to the party.
Born in 1990, I grew up in the digital revolution. My early years may have been marked by mixtapes and film, but those practices were quickly left behind with invention of CD players and digital cameras. I only really got into photography in 2012, which, by then, Digital SLRs dominated the market and film was put on the endangered species list.
All this to say, I’m by no means an analog purist with a spiritual connection to how things should be, and I like to believe I’m more than a trend-whore trying to keep up with the Kardashians. But like so many others, I couldn’t ignore the itch for nostalgia and bought myself a film camera… or four 😬
This isn’t a tutorial on how to develop film. This is the story of how a casual hobby turned into an all-consuming obsession with analog photography.
Finding a Film Camera
Searching Facebook marketplace I didn’t really know what I was looking for. I knew point-and-shoots were suddenly cool again, so just searched for that. Whatever models came up as available I would google the model and read blogs. And read more blogs. Before I even had a camera I was hooked on learning.
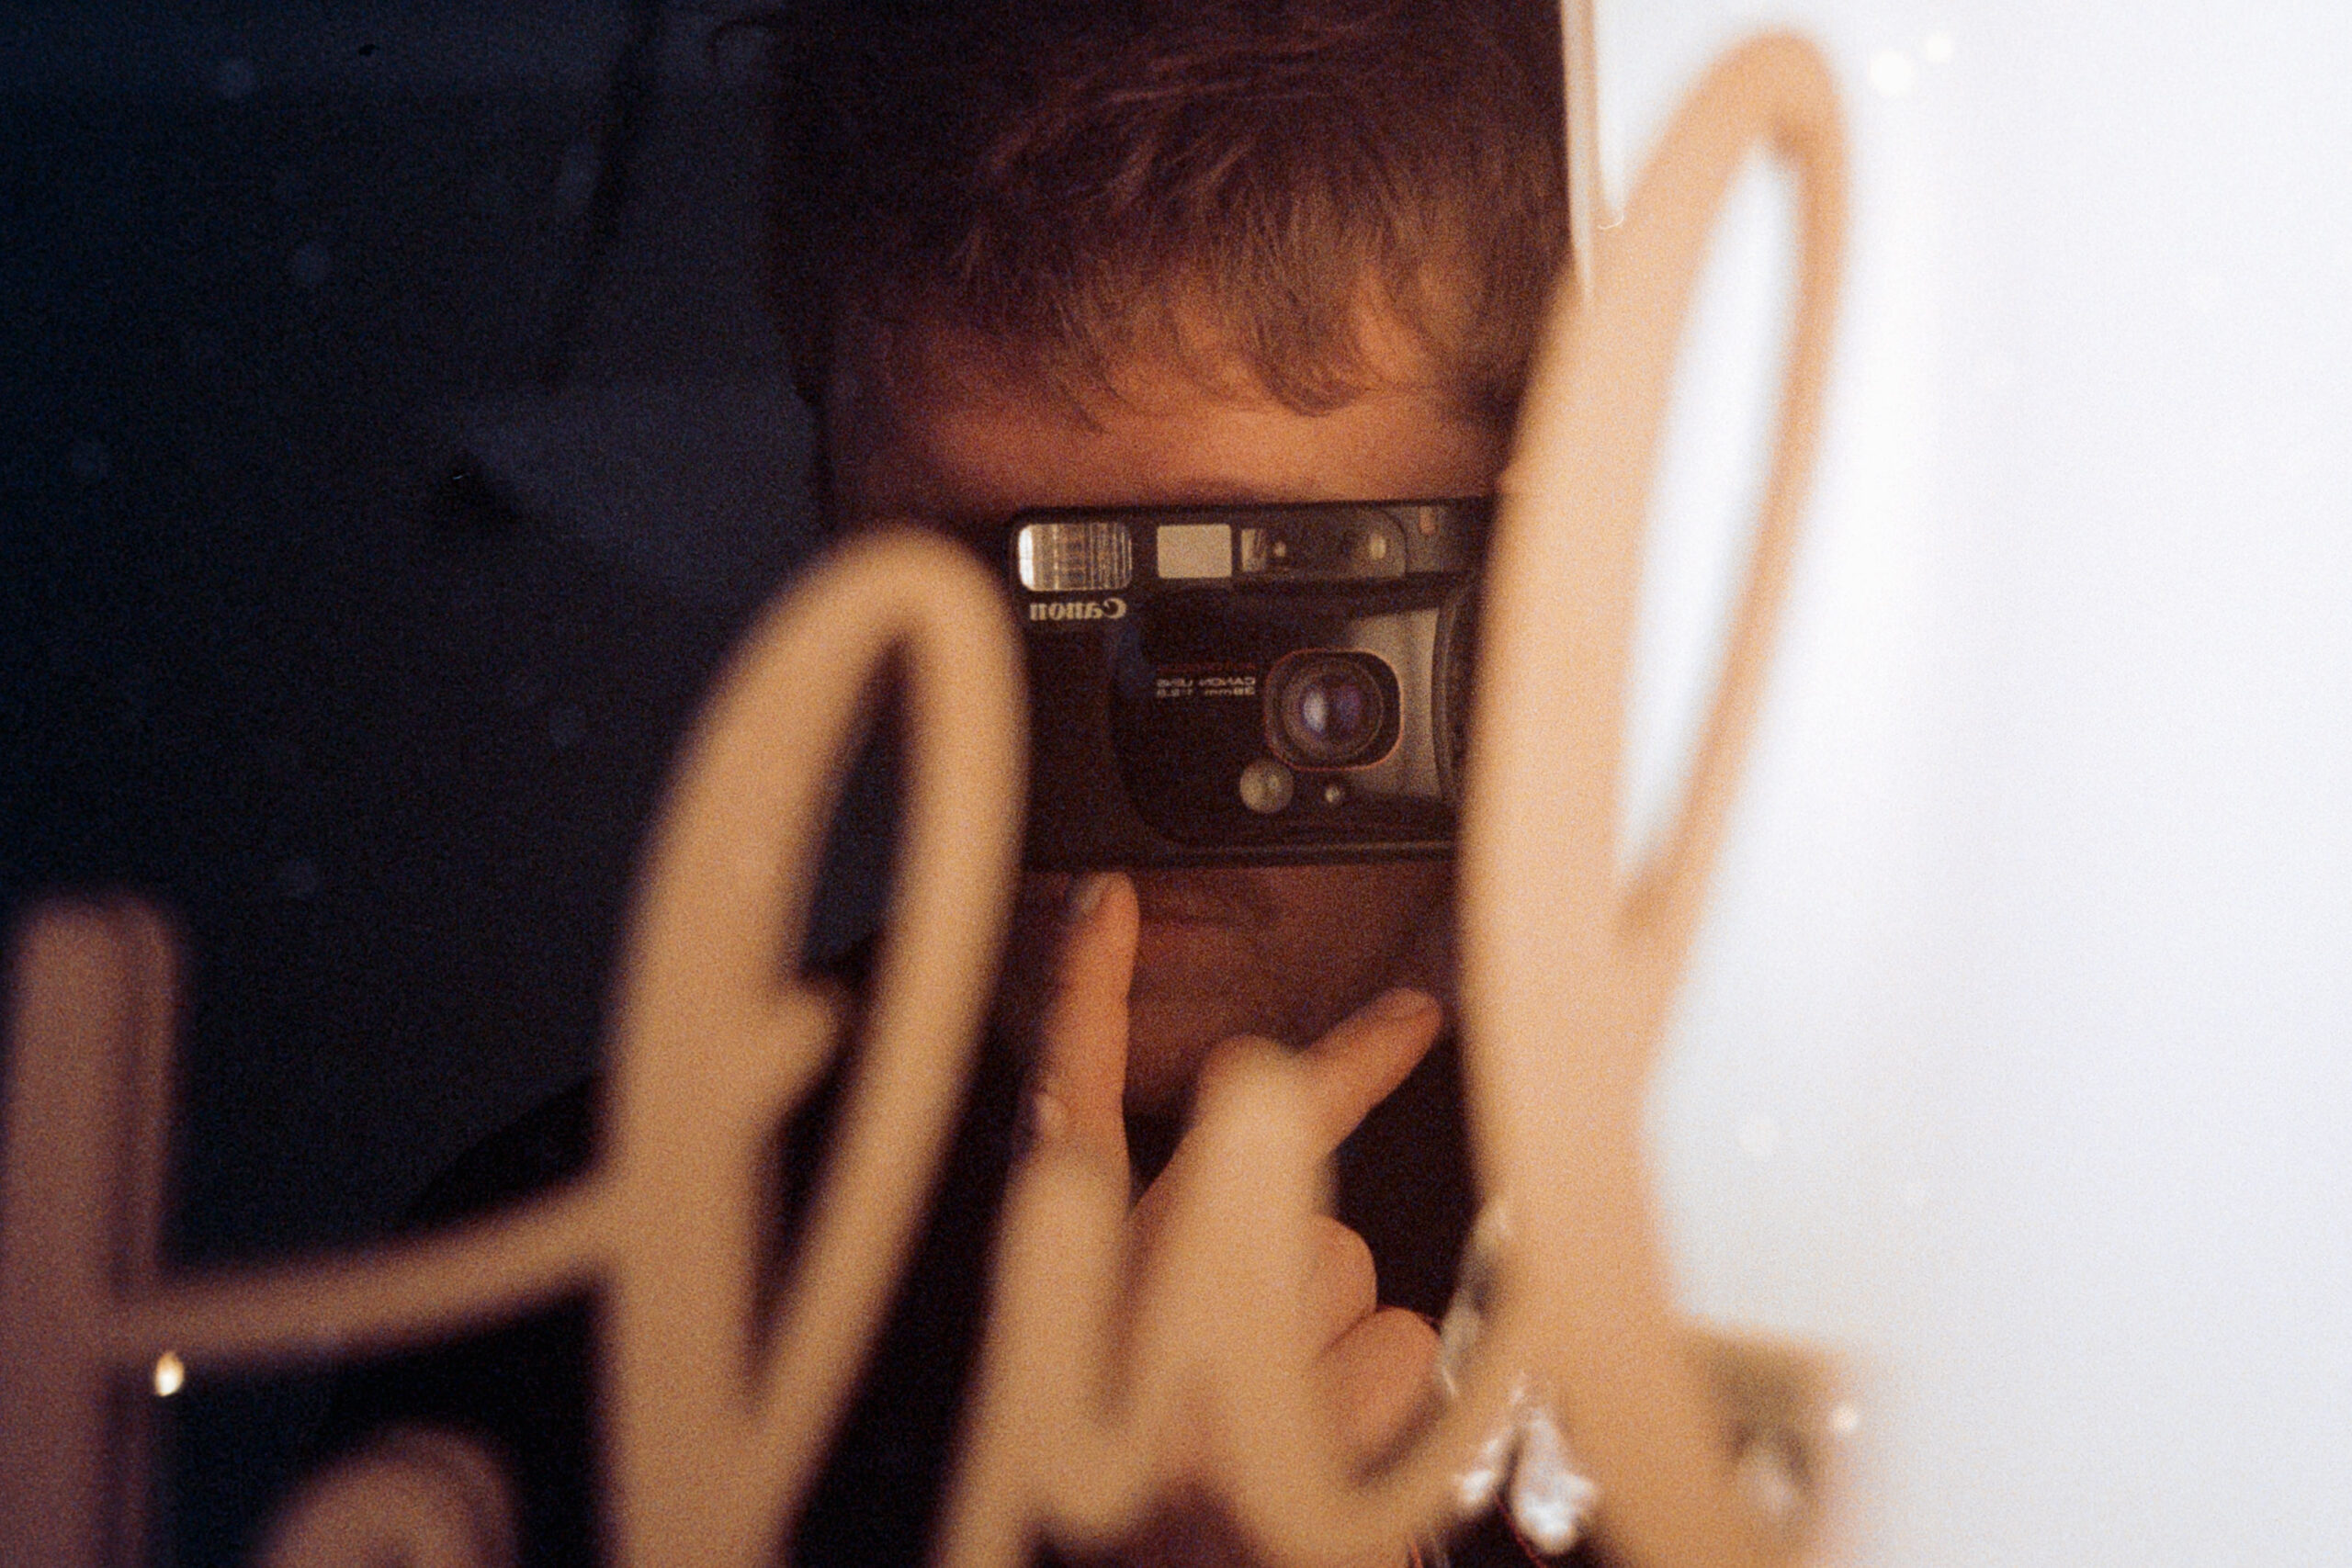
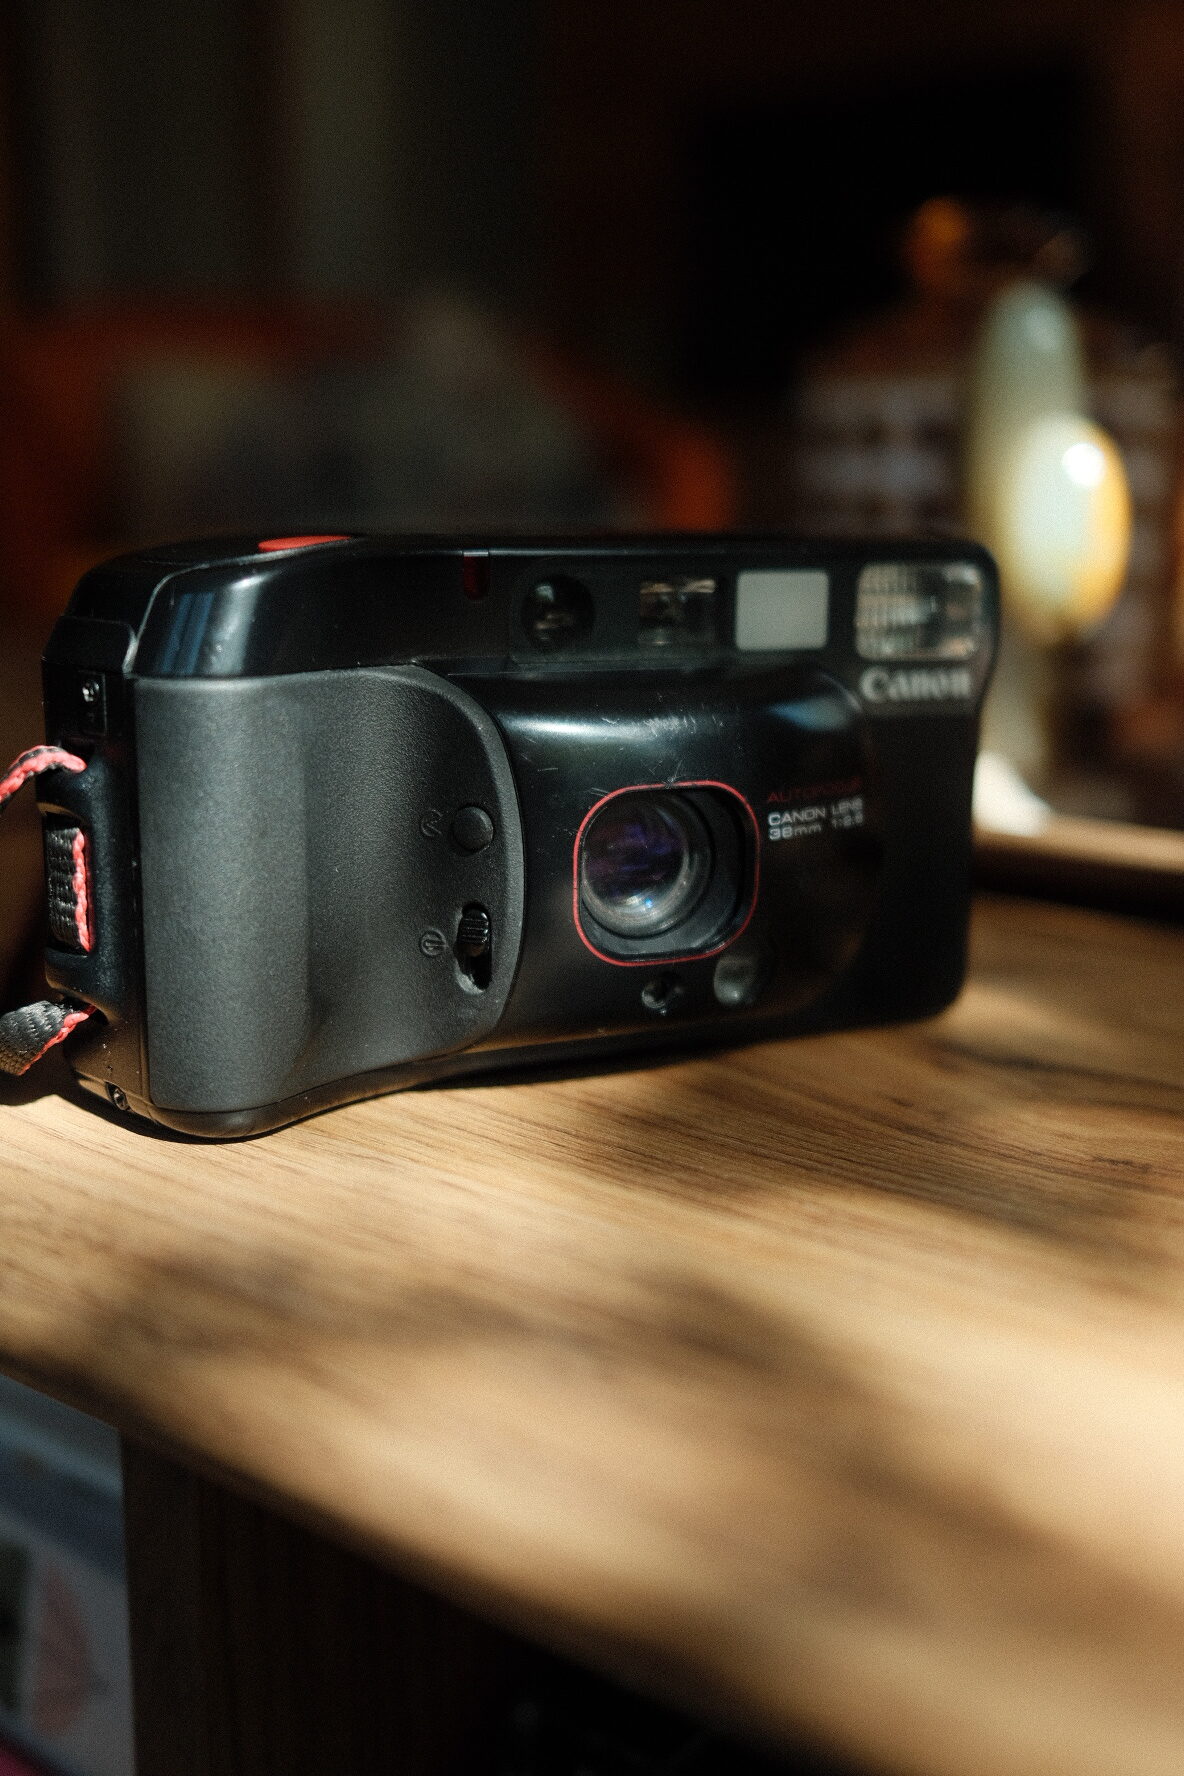
The first camera I picked up was the Canon SureShot Supreme, winner of the European Camera of the Year award in 1986. It was in good condition for its price of $60. All I had to do was seek out a weird CR2-5 battery, which I was pleasantly surprised to find them easily available at most camera stores.
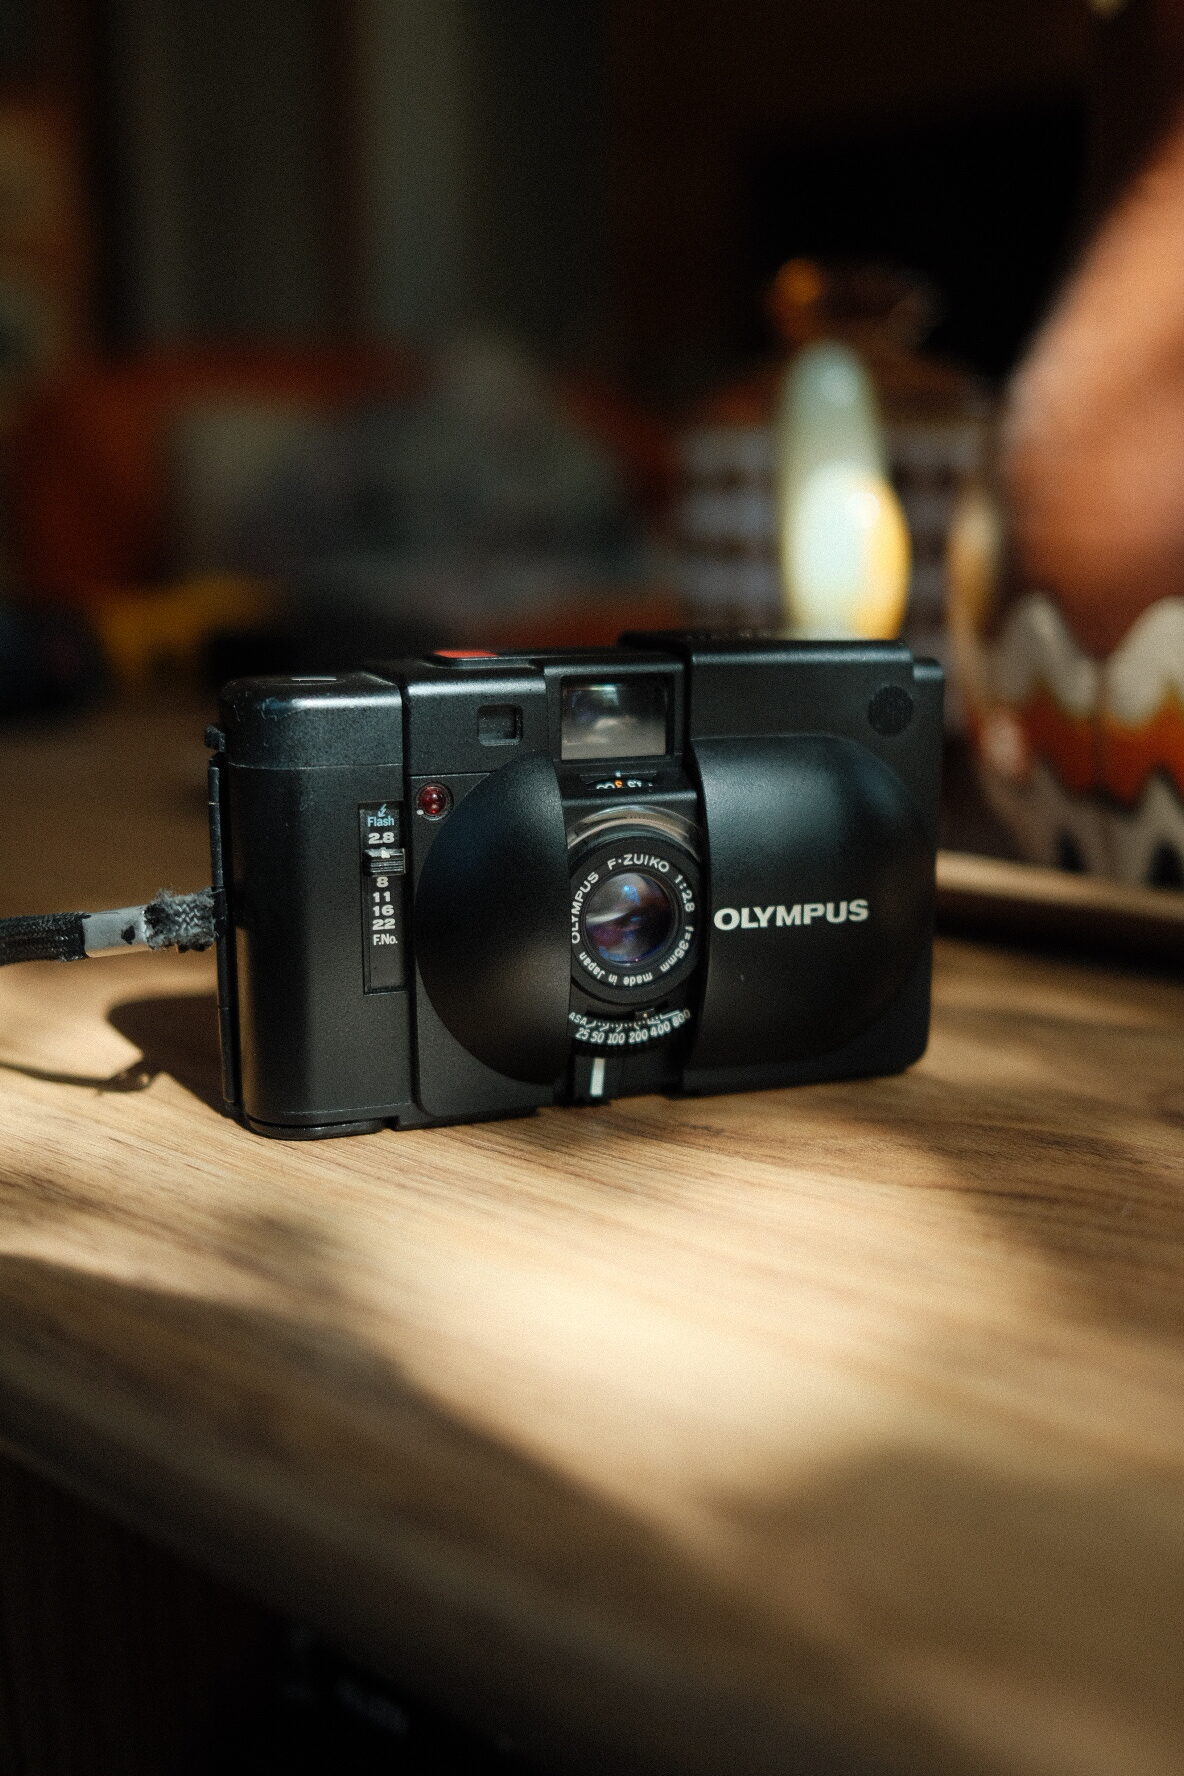
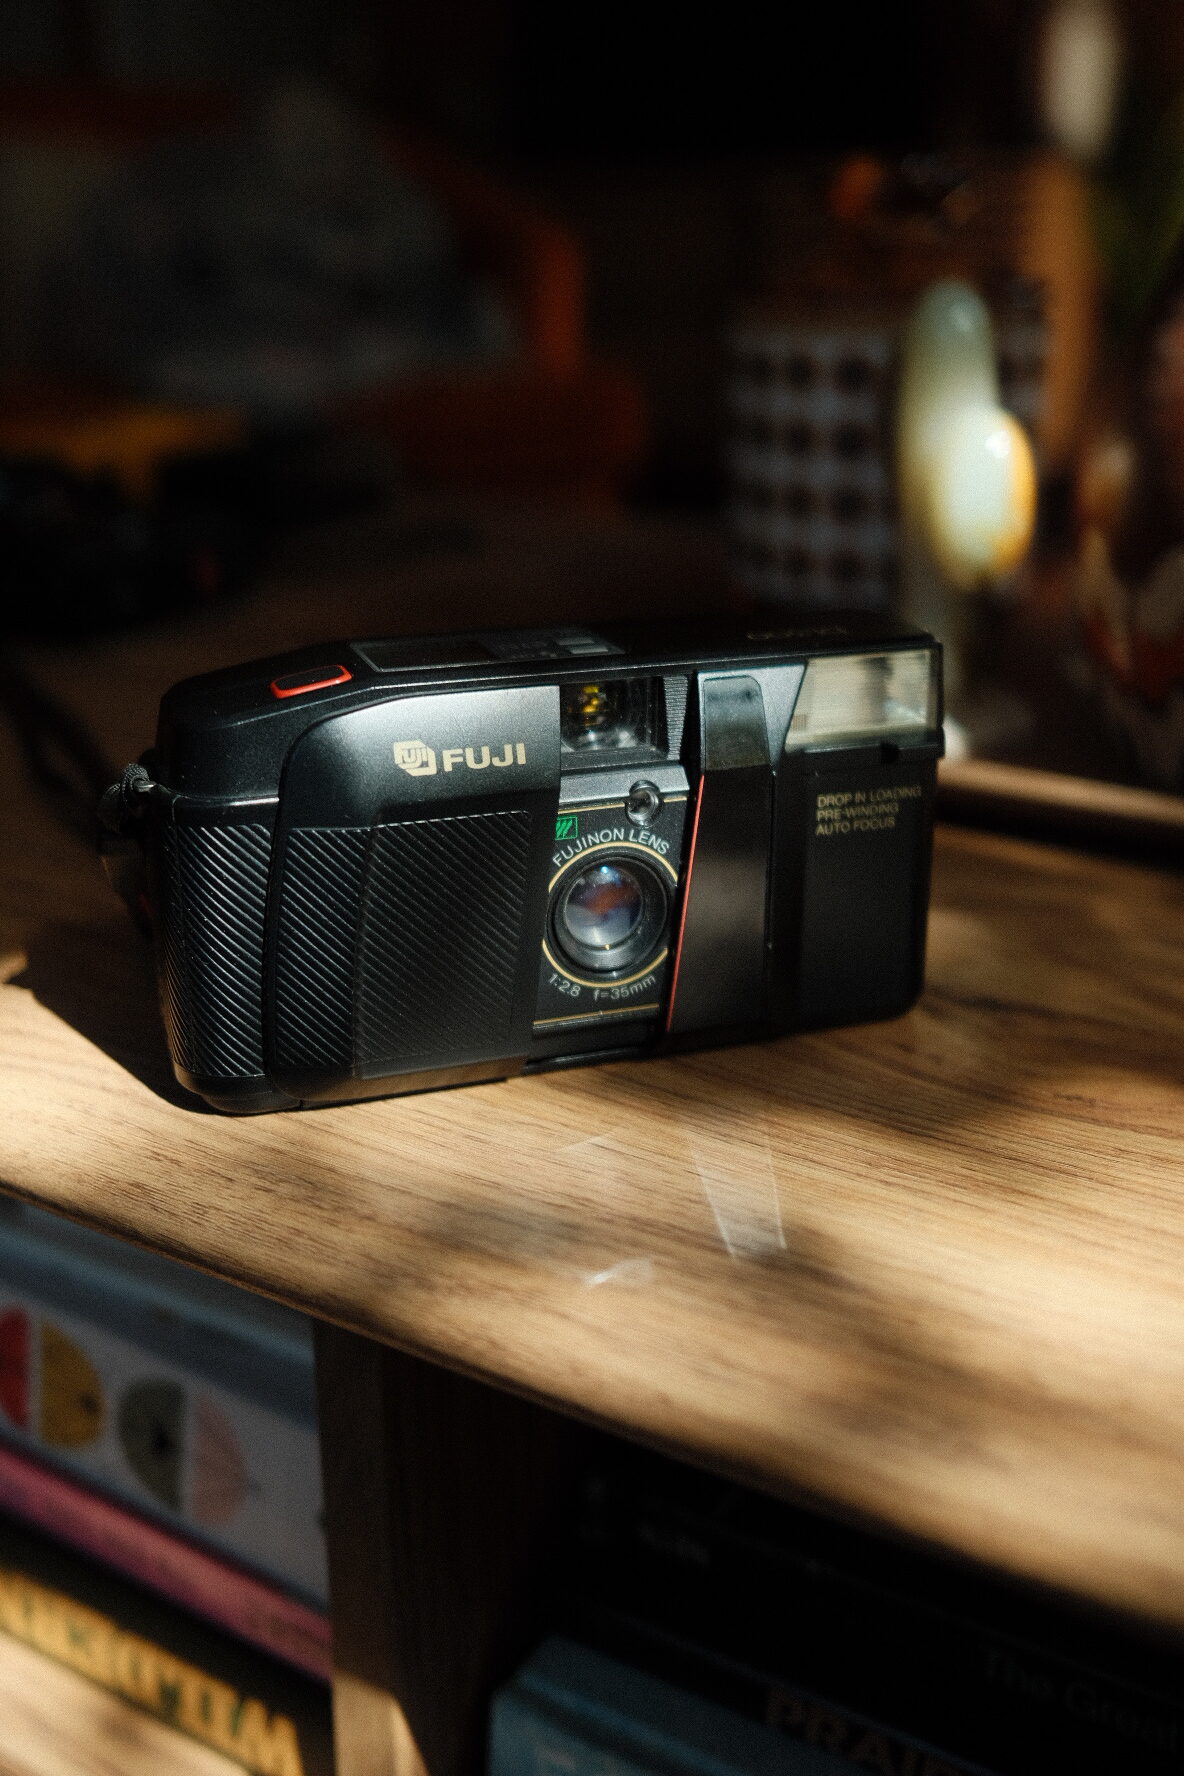
And since I was already in search mode, I also picked up a mint Olympus XA (1979) for its super small size and aperture priority controls, and a Fuji DL-300 (also 1986) from eBay. Mostly cuz my friend said it was a cool camera. 🤷♂️
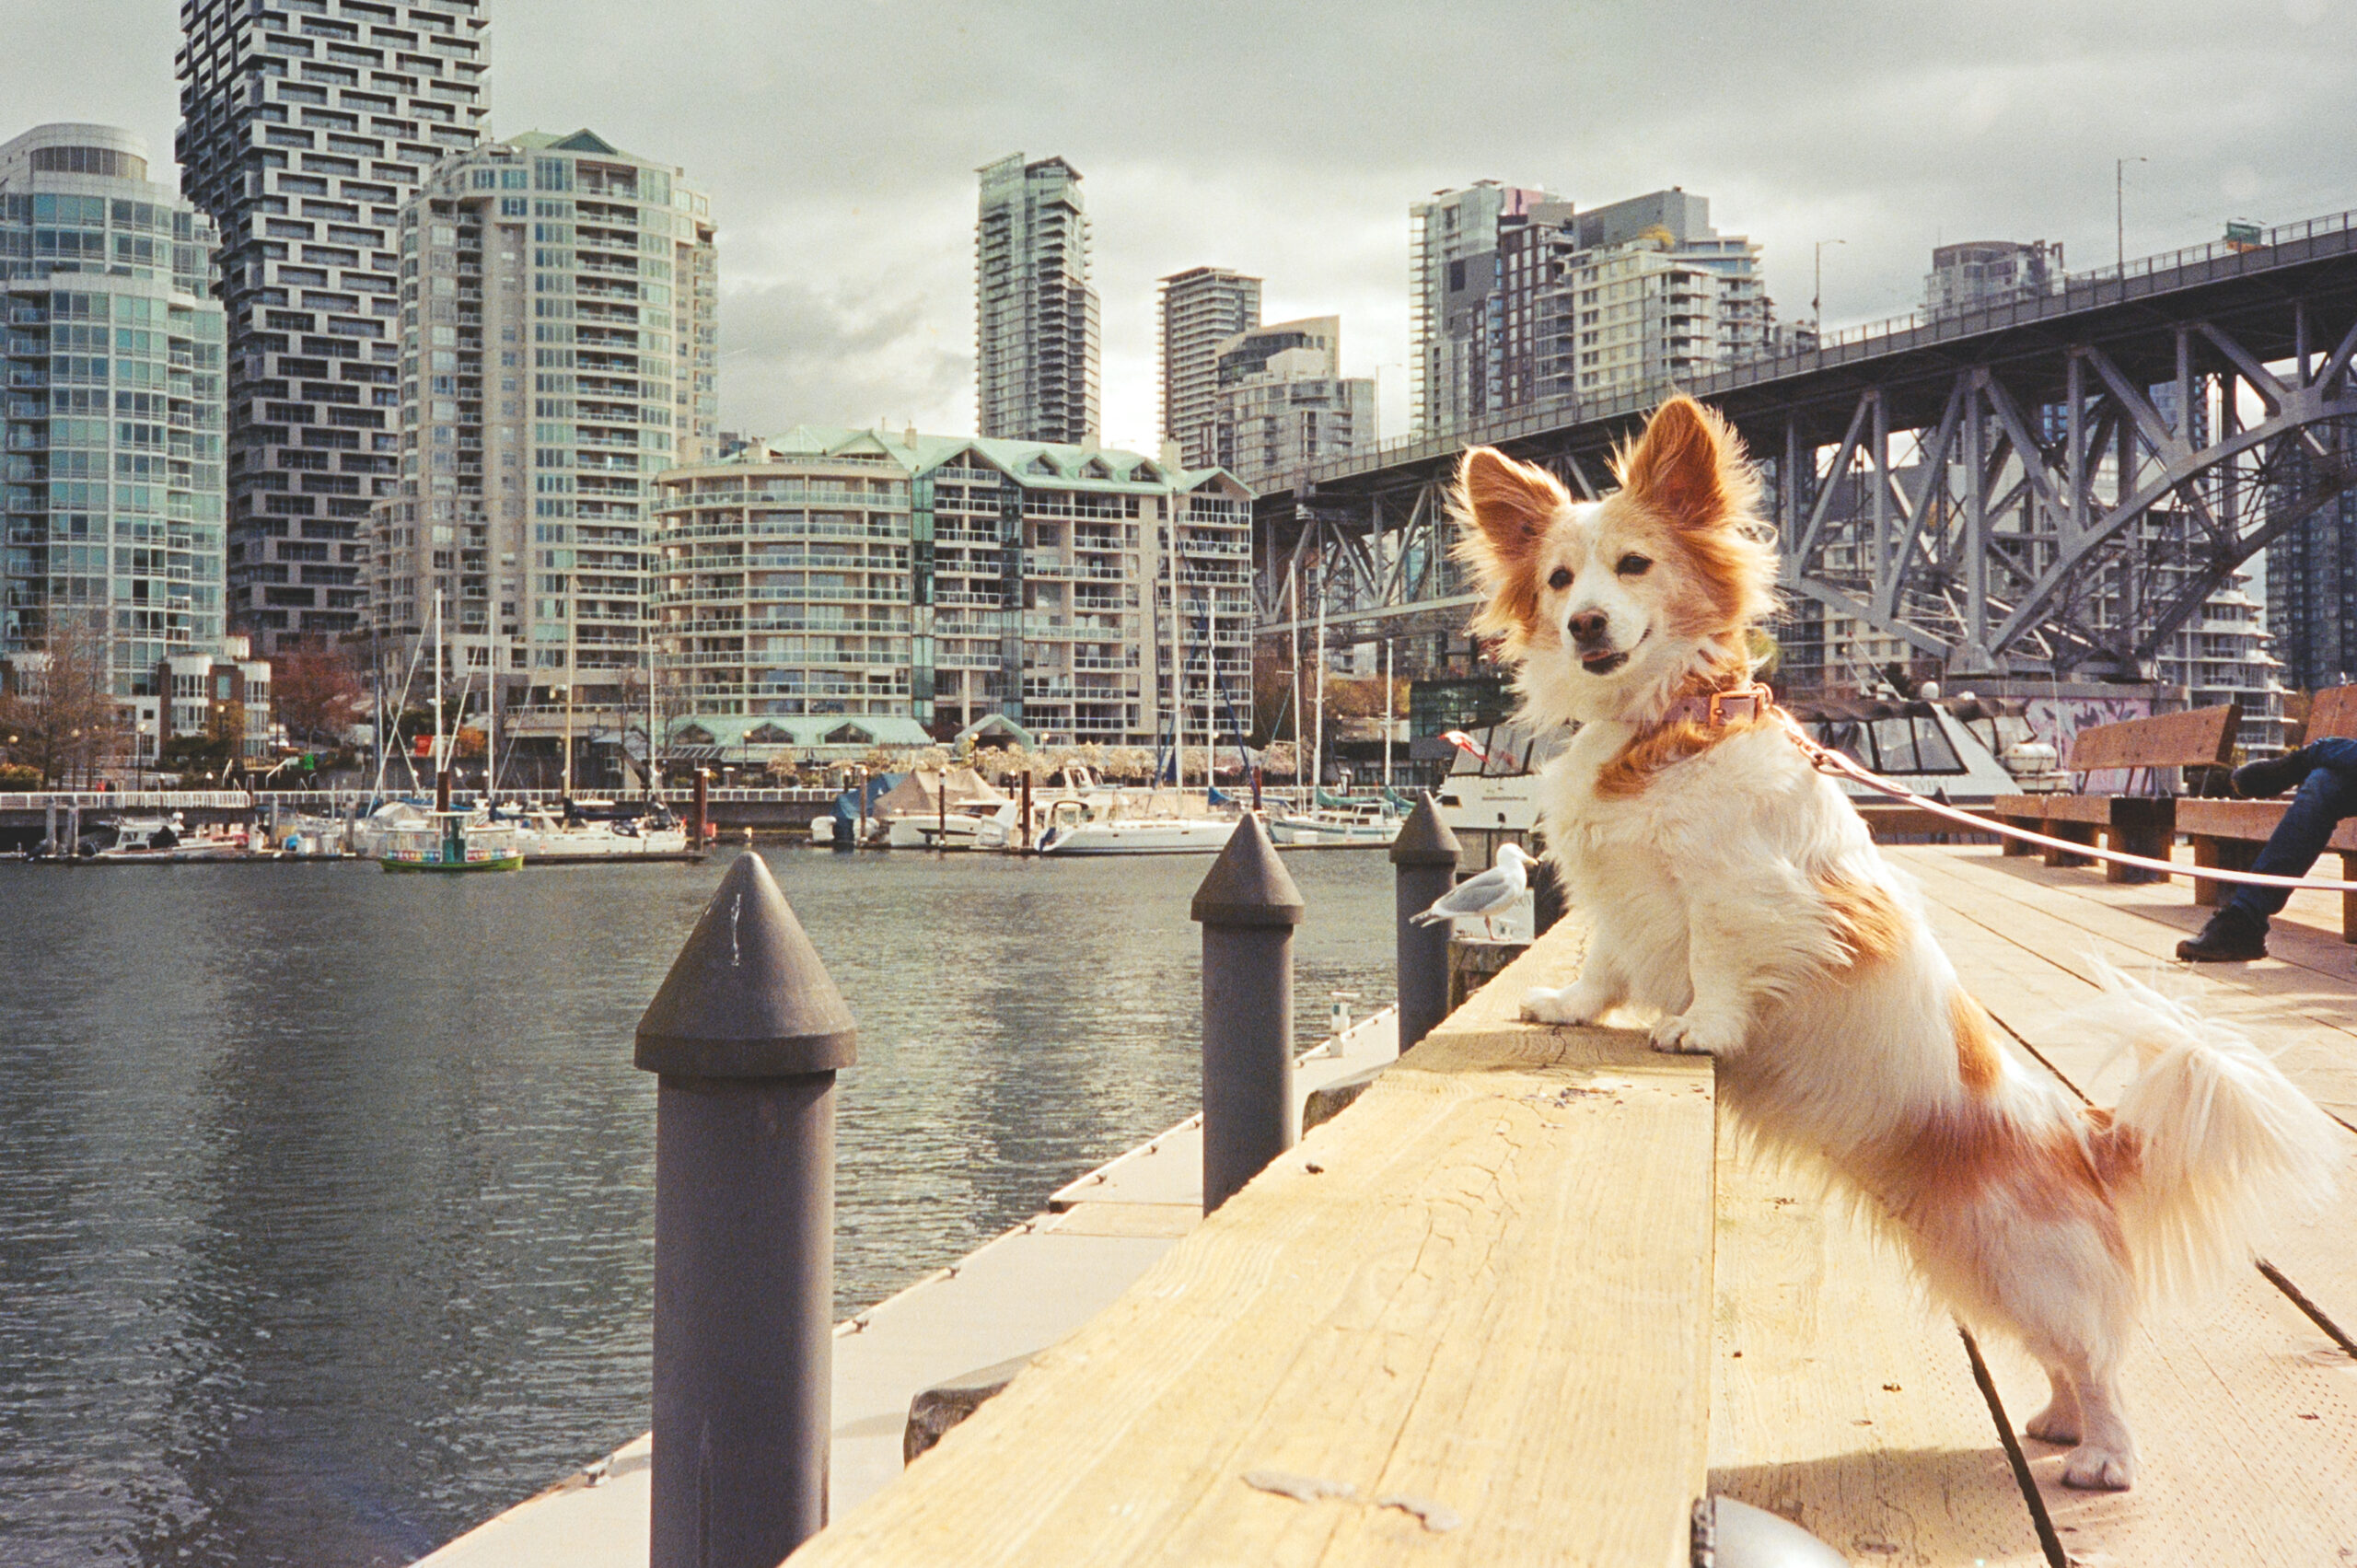
Luckily, I was in Vancouver at this time, which meant there was a larger population offering some decent options. I changed my browser location to see what was available in Winnipeg and it was slim pickings. I’ve found that eBay has been a great market as there is a large supply of lonely cameras in Japan looking for a loving home.
With my newly acquired quiver of cameras I just needed some film.
Choosing Film
Something I noticed when researching everything film was how people would talk about their favourite film stocks with such affection. I guess it makes sense because the characteristics of the film are what make a picture what it is, but I had zero language or understanding of what to look for. By this point I was a little tapped out from reading blogs, so I found the nearest camera store and bought what they had.
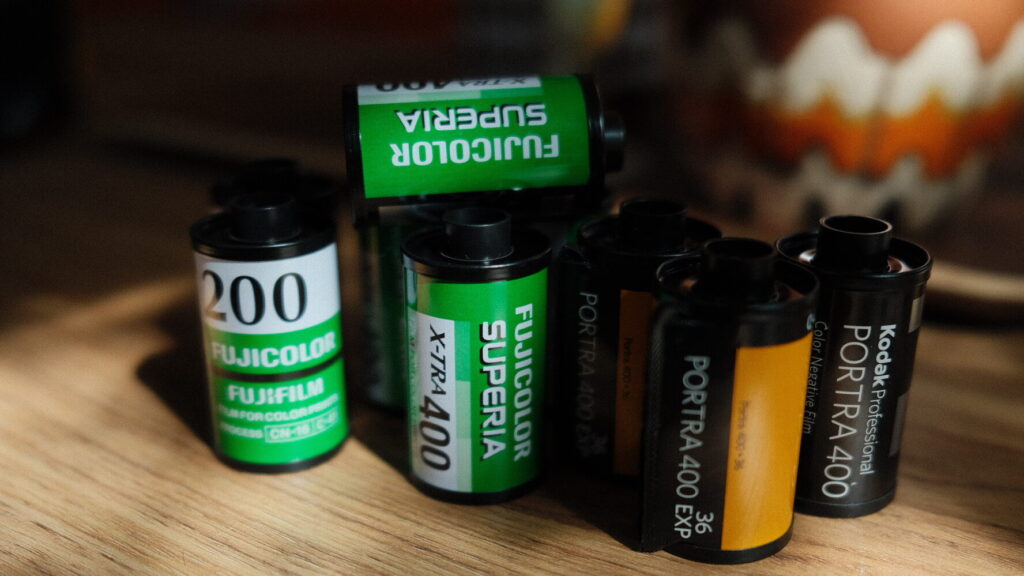
Picking from their selection was pretty easy because there weren’t many options to begin with. Kodak hasn’t recovered from the Kendall-effect as production hasn’t been able to keep up with demand. For colour film, I could choose between Kodak Portra and Fuji Superia. Aside from price, I didn’t know the difference, so I got a few rolls of each.
Shooting My First Roll
Shooting film at this stage in my photography journey was special because I got to feel the novelty of being new at something familiar. It wasn’t a frustrating “why don’t I understand this” kind of new. It was rewarding to apply my existing knowledge to something novel.
There was of course some fear involved as film is a medium I don’t fully understand. I had already ruined one roll in my rinky-dinky re-usable film camera because I ripped the strip trying to wind it back into the canister; I forgot to unlock the spool. Despite this blunder, I didn’t feel the pressure of needing to succeed like I do in my professional work. This was something I would allow myself to fail at.

Using a point-and-shoot is meant to be easy, but it was the extreme simplicity that tripped me up. Without any exposure settings or metering showing me what’s going on in the camera, I felt lost in the absence of feedback. That combined with the awareness that between the price of film and developing, my cost per picture was almost $1. With each picture feeling too simple and too expensive, I really slowed things down between each shutter press.

This turned out to be one of the beautiful things about shooting film. I spent more time on my composition than I did fiddling with settings. I was more intentional about observing the light and trying to position myself to make the most of it. Without a screen to check my work, all I could do was trust that I got the shot and move on. The whole process was an exercise of being okay with not knowing.
Developing
When it came time to getting my exposed film rolls developed, my obsessive personality really kicked into overdrive. I wasn’t going to get better at shooting film without shooting lots of it, but looking at the price of developing and scanning hurt.
So with napkin math I justified spending another $1000 on at-home developing equipment. I figured that after about 50 rolls the equipment would pay for itself. At least that’s what I tell myself. I was unsure whether or not it would be worth it, but I quickly found I was going in the right direction.
The rush I got from developing my first roll was something I haven’t felt in photography for a long time. I wasn’t just clicking buttons on a computer. I was doing science. When I mixed the chemicals they would bubble. To transfer the film into the developing tank I had to do it completely blind in a dark bag. Temperatures had to be accurate to a degree. Timing monitored by the second.
There are a lot of YouTube tutorials, but I found this guy’s presentation style and information really easy to follow. Once I started though, I realized that no amount of training can prepare you for when the clock is ticking. There is no edit/undo in film development. No backup copy. Just a chemical reaction that, at best, transform photons trapped in an emulsion into memories, or at worst, get destroyed in the process.
I shouldn’t be surprised that it actually worked, but when we pulled out the first film strip it felt like a miracle.
Scanning the film once it dried was a bit of a time suck. There is a scanning set up I want to get that would really speed things up, but, you know… money. Thankfully though, I was scanning with a friend who shared in my excitement for the end product.
To turn the negatives into a colour photo, I used a Lightroom plug-in called Negative Lab Pro, which I’m still learning my way around. That’s one thing about film photography that I’ve found to be so different from digital. Every step of the way is a process that is either purely organic or has a deep history to it, and even the most digital part of the process still had this quality.


Less freedom, more creativity
When I started with digital photography almost ten years ago, I had no idea that I was learning in an era of technological bliss. The cameras I use now are beefed up with flagship features that give me near limitless control of my image in almost any lighting situation.
I couldn’t appreciate that reality, though, until started shooting film and started bumping into all kinds of limitations. Shutter speeds that can’t go faster than 1/500. ISO that can only be changed every 36 shots. Light metering that can’t be checked with a test shot. I couldn’t fully appreciate what I CAN do with digital cameras until I experienced what I CAN’T do with film.
It’s this very challenge that reminded me of a lesson that I’ve always known but have hated to admit: gear won’t make you better. It took a $60 camera from Facebook and a roll of Fuji Superia 200 to really internalize that.
Look at me getting all getting affectionate about a film stock. I guess this is how it begins.
Tips for Getting Started
If you’re also interested in getting into film I’ll leave you with these few tips. Not that I’m a guru on the topic, but from one amateur to the other, this is what I’d recommend:
- Don’t worry about the kind of camera you get. Sure, a Contax T2 or an Olympus Mju seem sexy, but there’s so much to learn about film photography that has nothing to do with the camera. Either use what you have or get what you can and save your money for developing and scanning. You can always upgrade later.
- Don’t think you can be faster than light. If something happens that keeps you from winding your exposed film back into the canister, either put the camera aside until it can be opened in a dark bag or sacrifice the roll of film so you can load another.
- Take advantage of how cheap film cameras are compared to digital and own multiple. They are old machines, so if one breaks you can have a back up. But you can also use different cameras for different film speeds. One camera can be your daytime outside camera loaded with 200ISO, another can be your evening camera loaded with 800.
- Film speeds are relative to how they are developed. A film roll can be pushed or pulled so it can effectively have a different speed than what’s on the label. This is difficult to do with point-and-shoots because many do not let you override the automatic film speed detection. But if yours can, pop a roll of 400ISO into the camera but change the ISO setting to 800. The camera will then meter for those settings. When you get the film developed, just specify with the lab that that roll needs to be pushed by 1 stop. This more to it, but I’ll leave it at that. I just wish I knew this when I started as the concept eluded me.


